jenkins_windows
jenkins部署vue项目 (windows)
1.安装jenkins
(1).下载jenkins
https://www.jenkins.io/doc/book/installing/windows/(2).tomcat部署jenkins.war
将jenkins.war放到F:\k8s\tomcat\apache-tomcat-7.0.109\webapps 路径下

启动: F:\k8s\tomcat\apache-tomcat-7.0.109\bin  执行 startup.bat文件
访问: http://172.18.11.187:8886/jenkins
2.全局变量安装
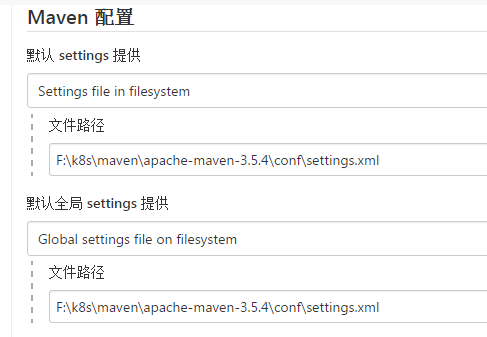
(1).设置maven全局变量
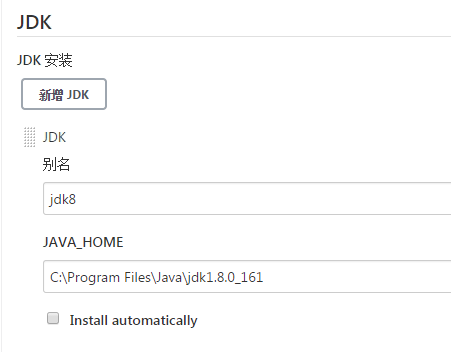
(2).安装jdk
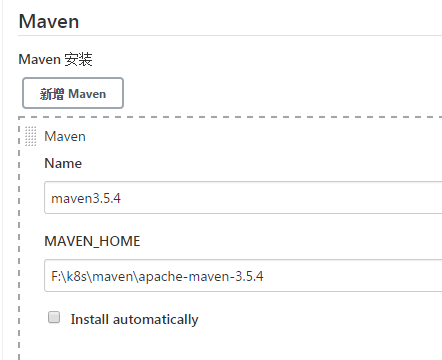
(3).安装maven
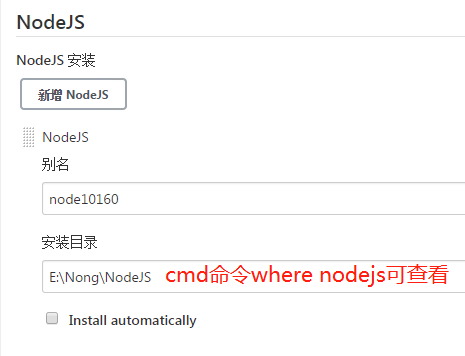
(4).nodejs配置
3.项目设置
(1).jenkins选择项目类型
注:vue项目选择freestyle project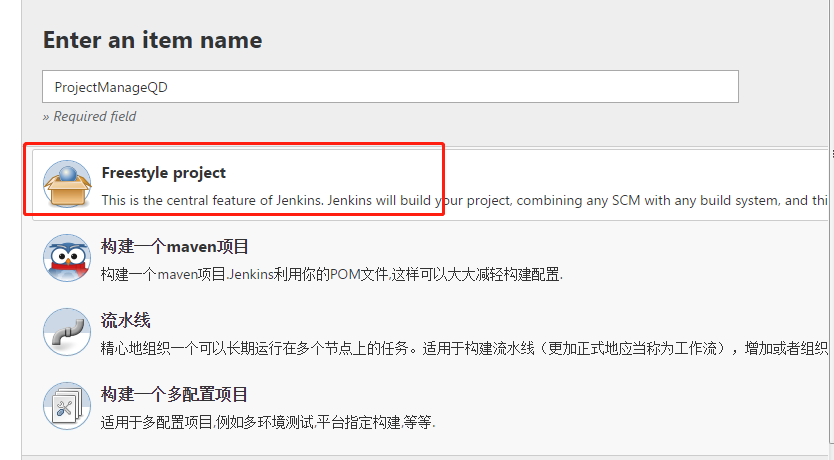
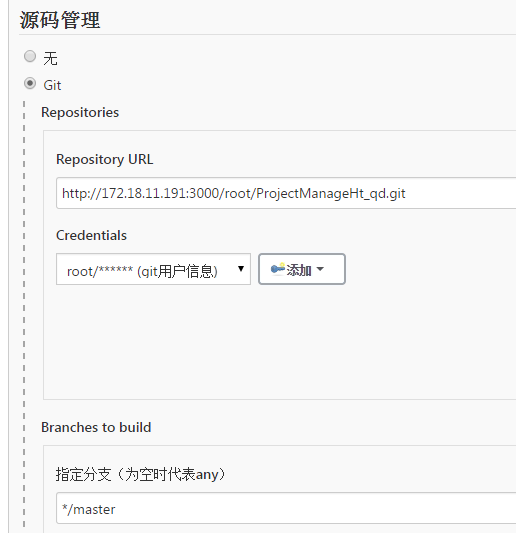
(2).git路径设置
(3).nodejs勾选设置
勾选  Build Environment -->
               Provide Node & npm bin/ folder to PATH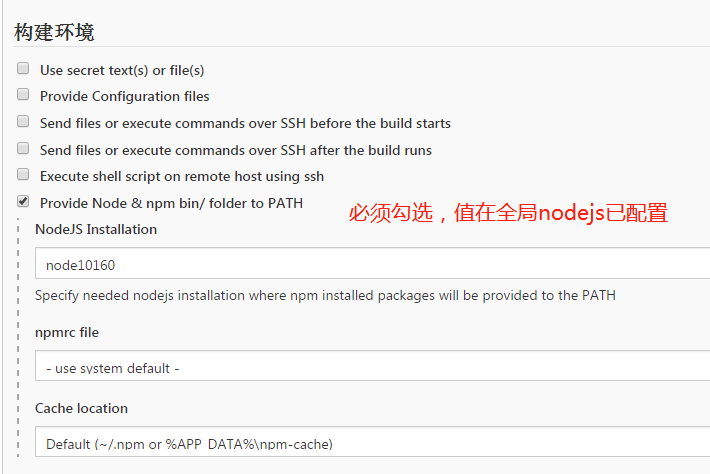
(4).脚本构建设置
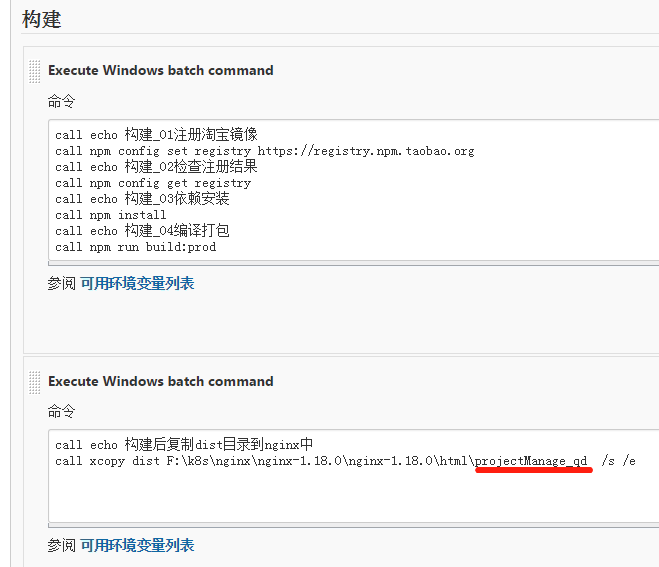
构建 --> 选择   execute Winodows batch command

脚本1:
    call echo 构建_01注册淘宝镜像
    call npm config set registry https://registry.npm.taobao.org
    call echo 构建_02检查注册结果
    call npm config get registry
    call echo 构建_03依赖安装
    call npm install
    call echo 构建_04编译打包
    call npm run build:prod

脚本2:
    call echo 构建后复制dist目录到nginx中
    call xcopy dist F:\k8s\nginx\nginx-1.18.0\nginx-1.18.0\html\projectManage_qd  /s /e
4.nginx启动
(1):下载安装nginx
(2):配置nginx.conf
http {
server {
listen 8000; //访问端口
server_name localhost;
location / {
root html/projectManage_qd; //配置存放vue打包后dist文件内容
//由上述脚本2知,打包后的dist被转成projectManage_qd,故需配置成 html/projectManage_qd
index index.html index.htm; //此处的index.html 指向的是dist后的index.html
}
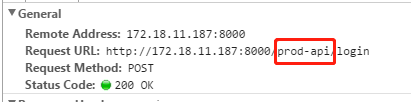
//由上图可知需配置代理
location /prod-api/{
proxy_set_header Host $http_host;
proxy_set_header X-Real-IP $remote_addr;
proxy_set_header REMOTE-HOST $remote_addr;
proxy_set_header X-Forwarded-For $proxy_add_x_forwarded_for;
proxy_pass http://172.18.11.187:8089/;
}
error_page 500 502 503 504 /50x.html;
location = /50x.html {
root html;
}
}
}(3):启动nginx
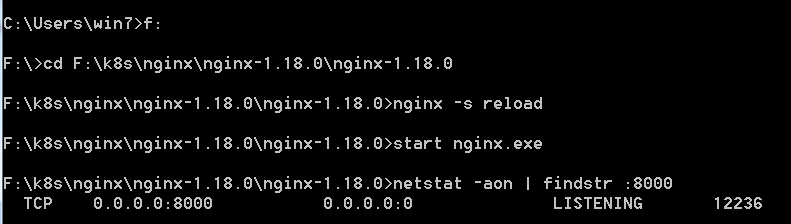
cmd命令行执行:
        start nginx 启动
        nginx -s reload  刷新
        netstat -aon | findstr :8000   查看8000端口情况
(4).访问
http://ip:8000/ 自动跳转到系统登录页文章标题:jenkins_windows
发布时间:2021-08-23, 20:11:40
最后更新:2021-05-18, 17:54:49